 Free ground shipping
 10-second checkout with Amazon
 3-year warranty
 We pay sales tax, if applicable
 60-day audition

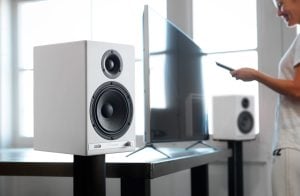
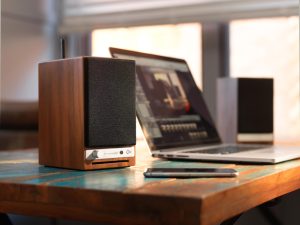
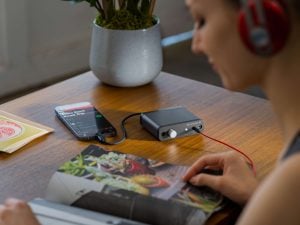
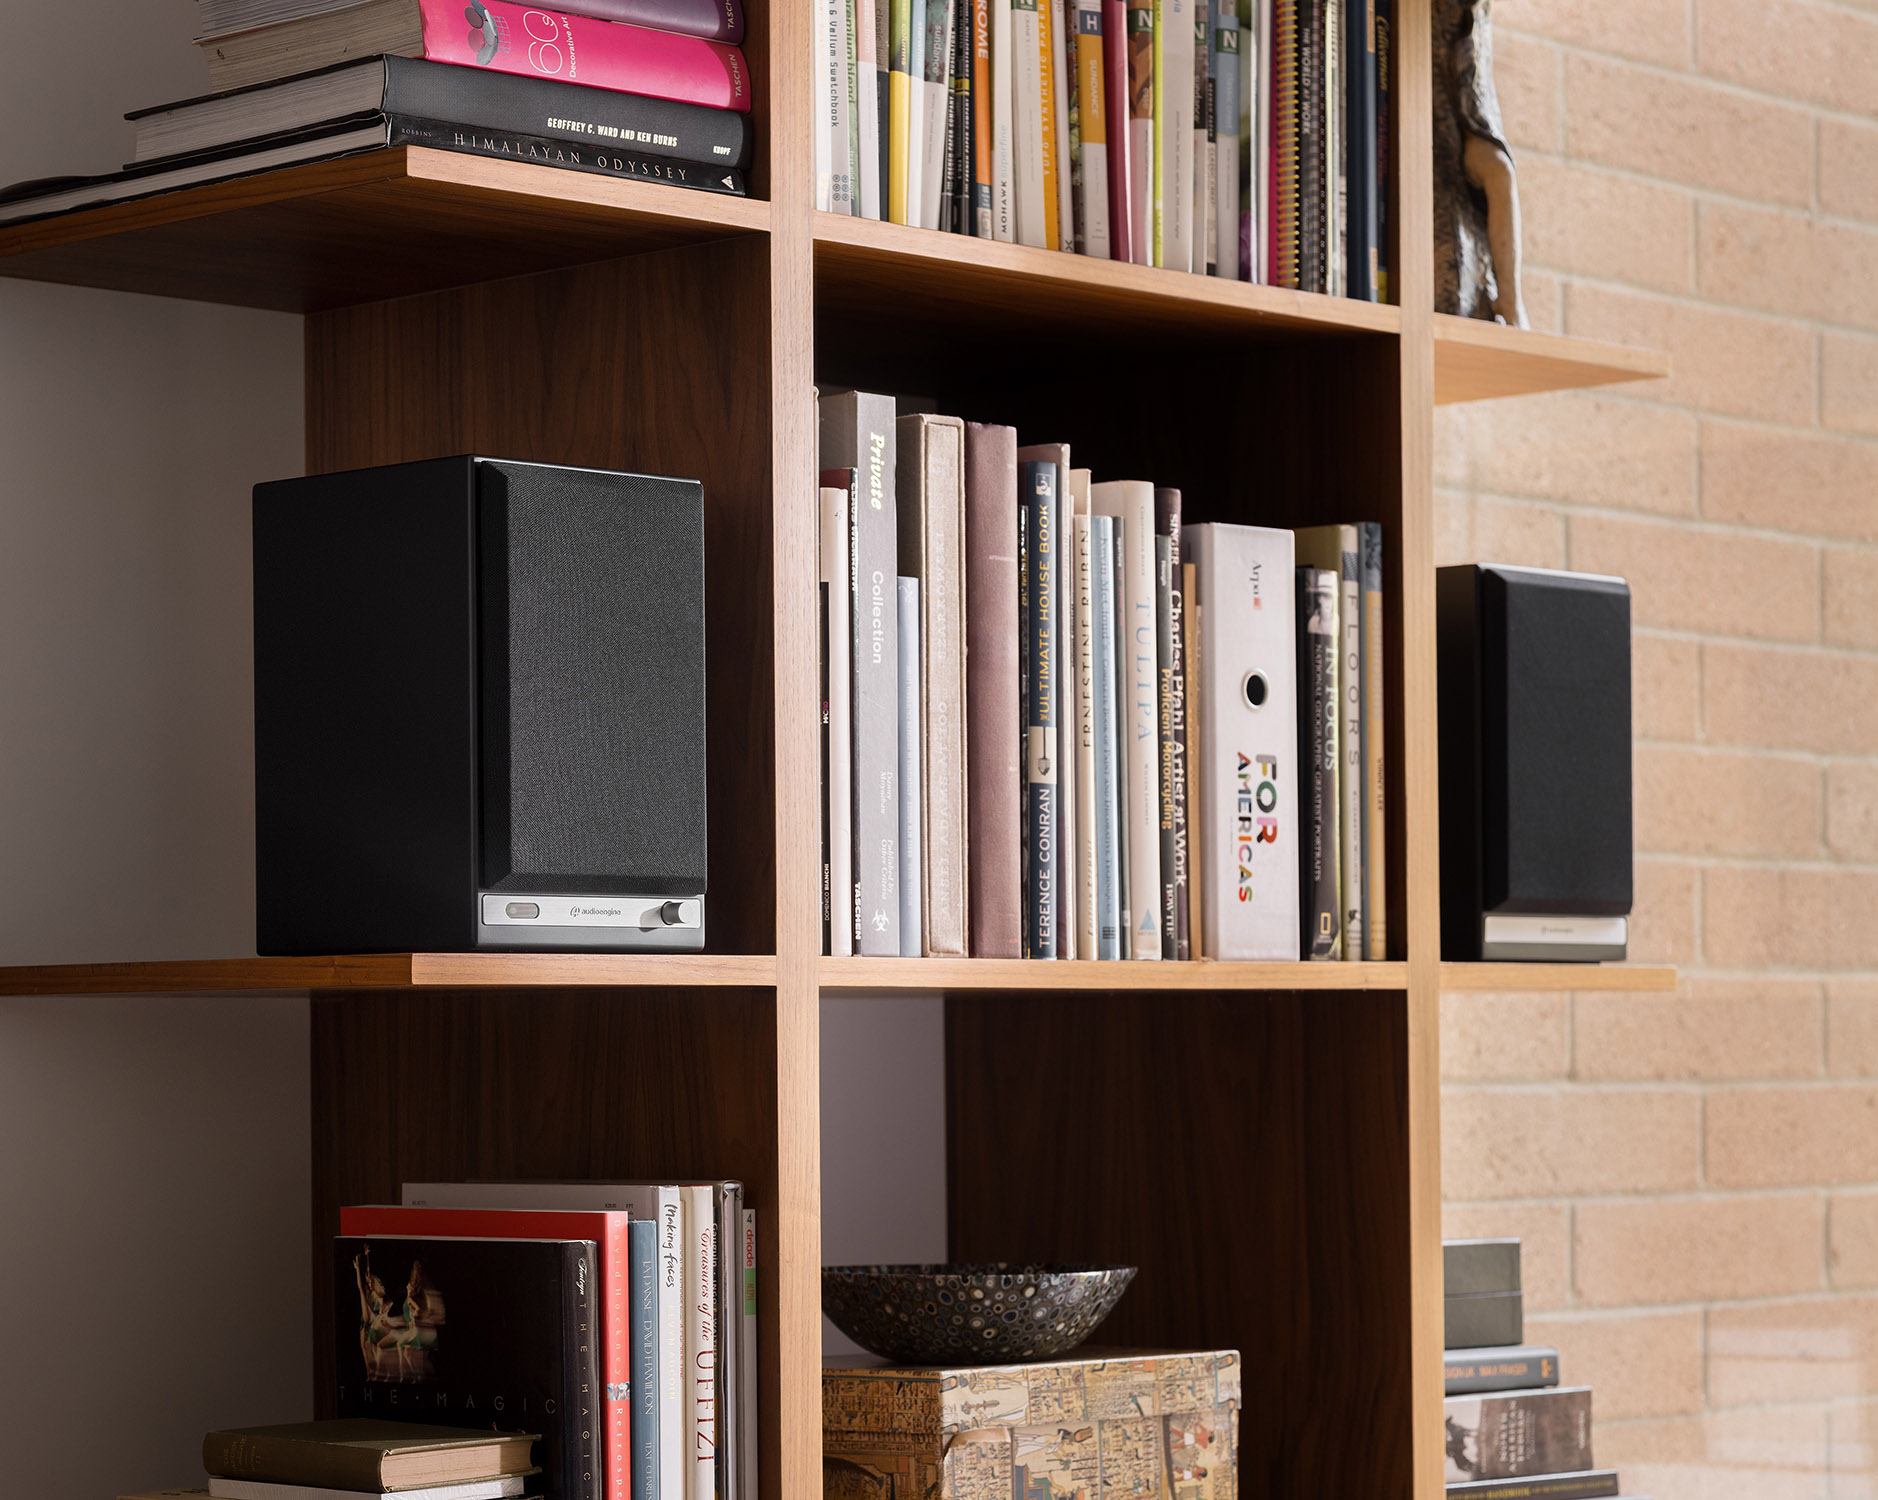
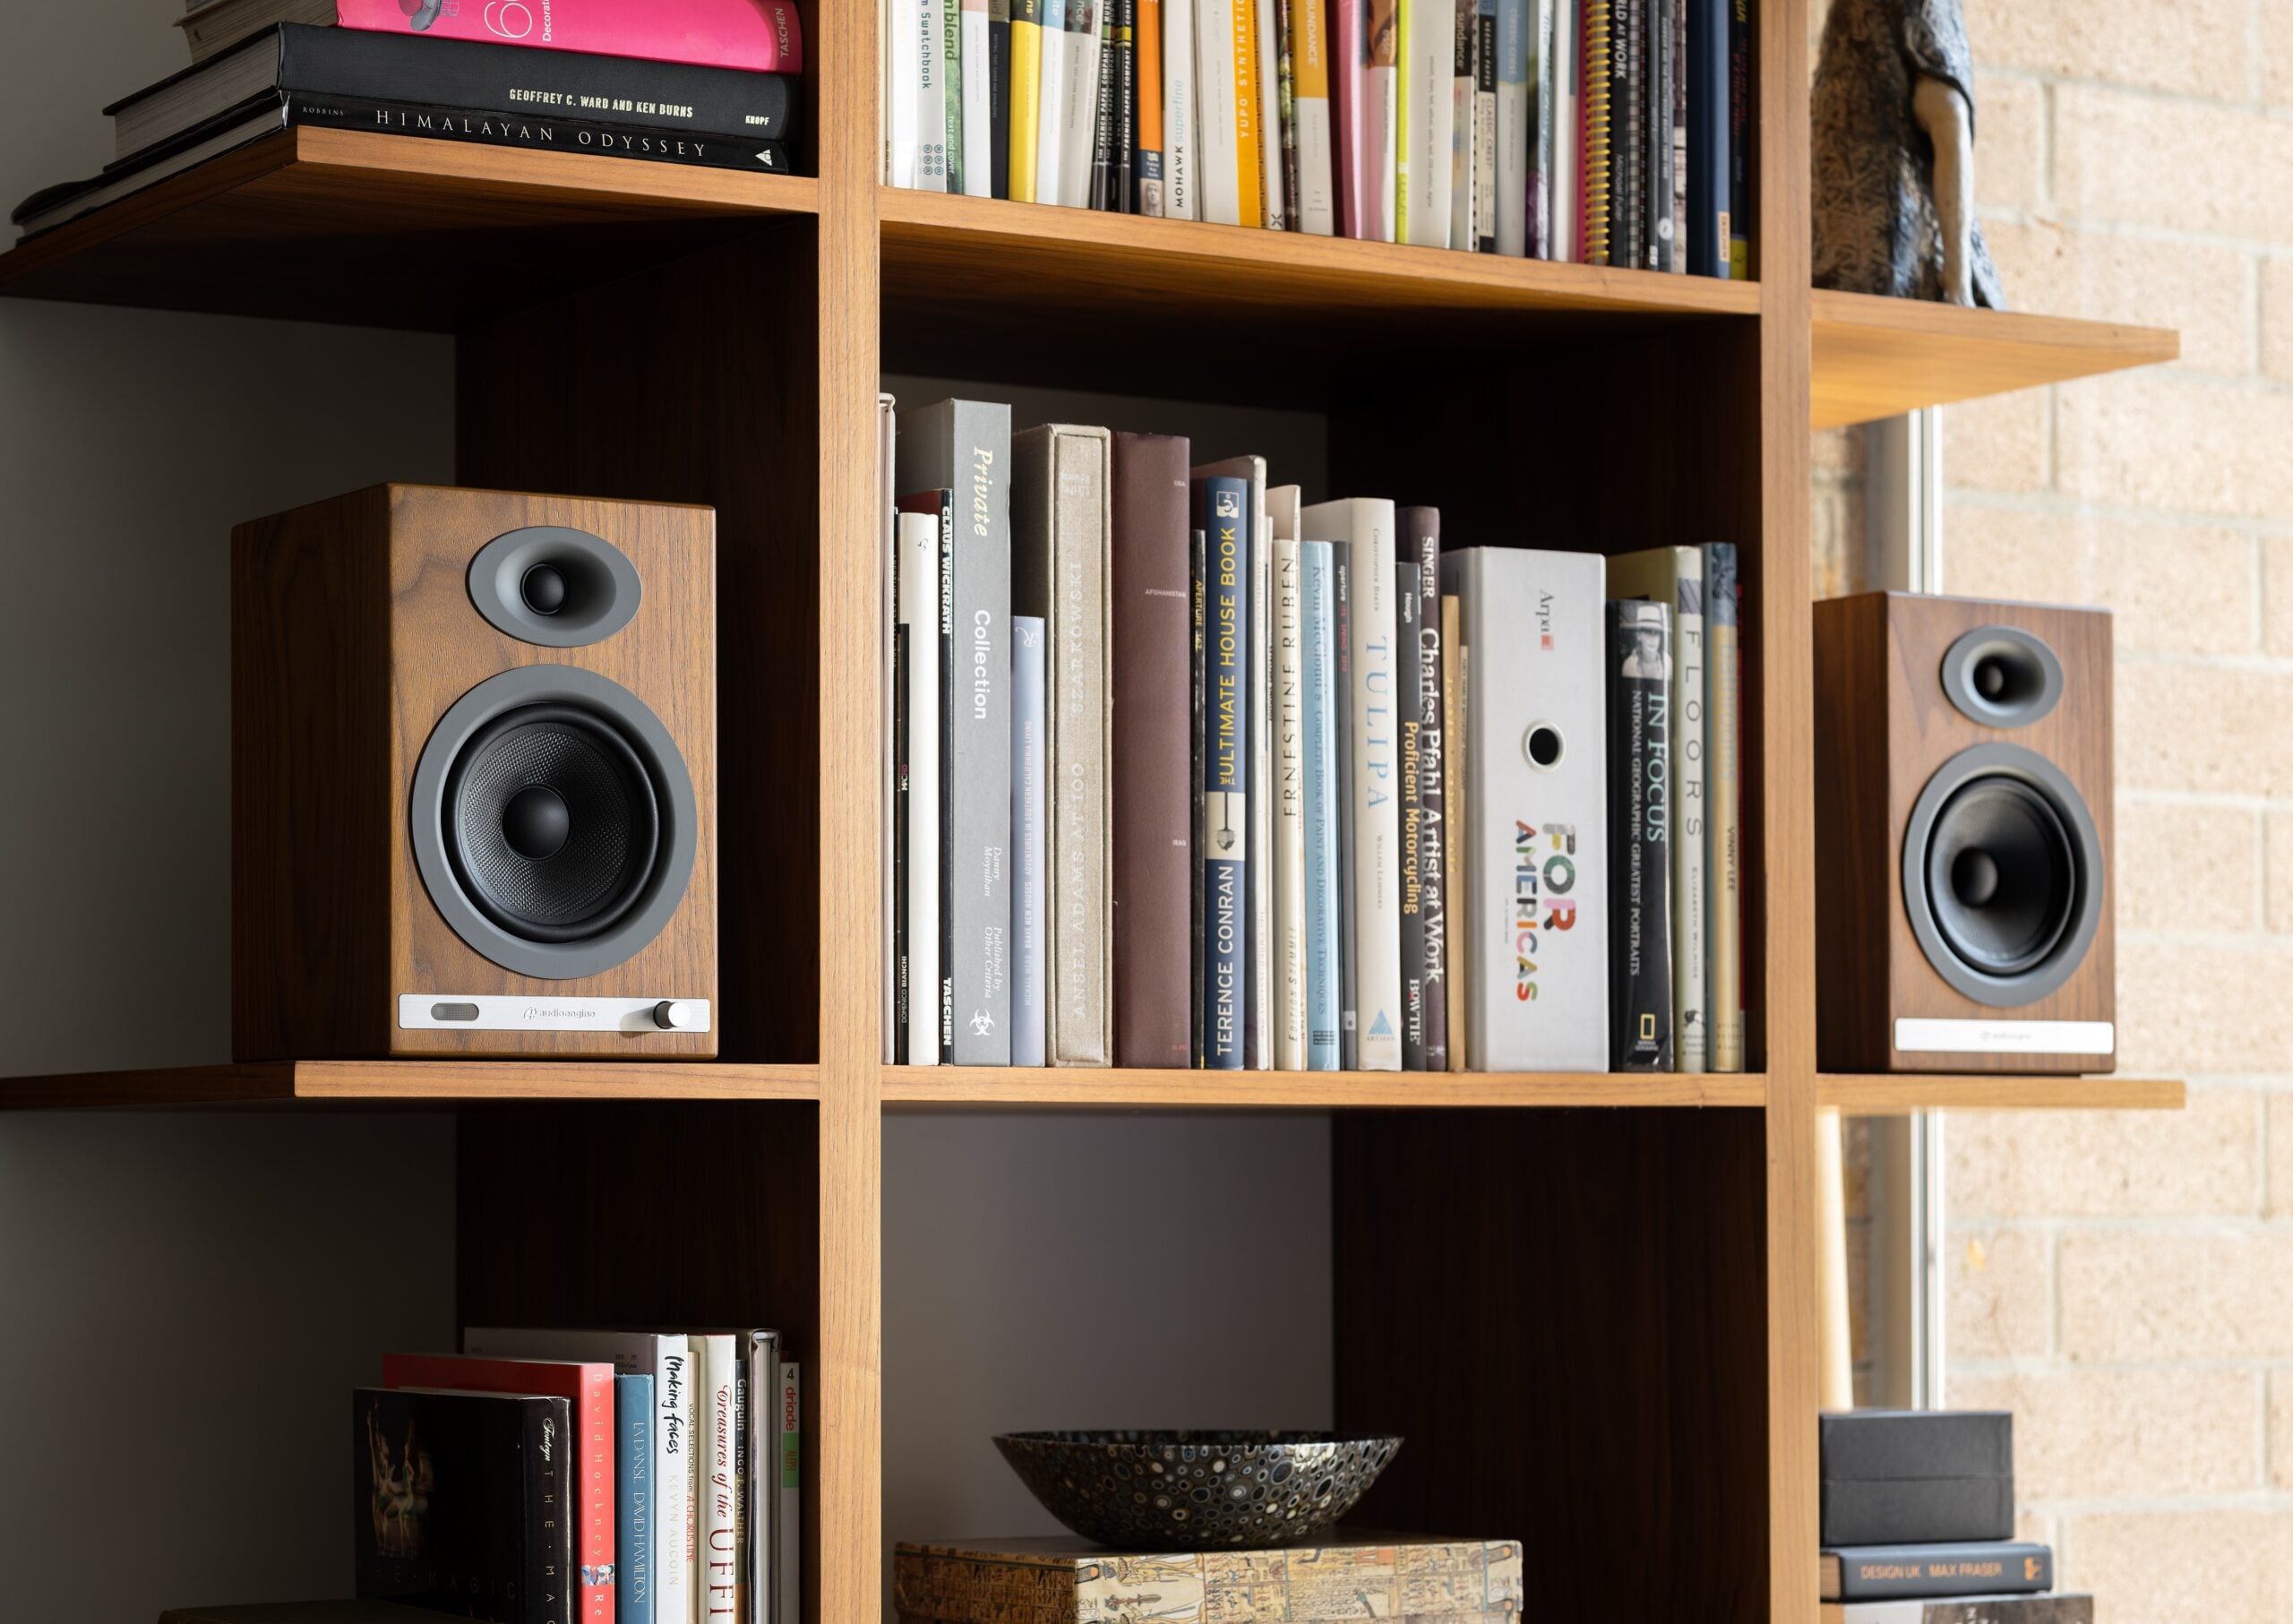
20 years of research and it shows.
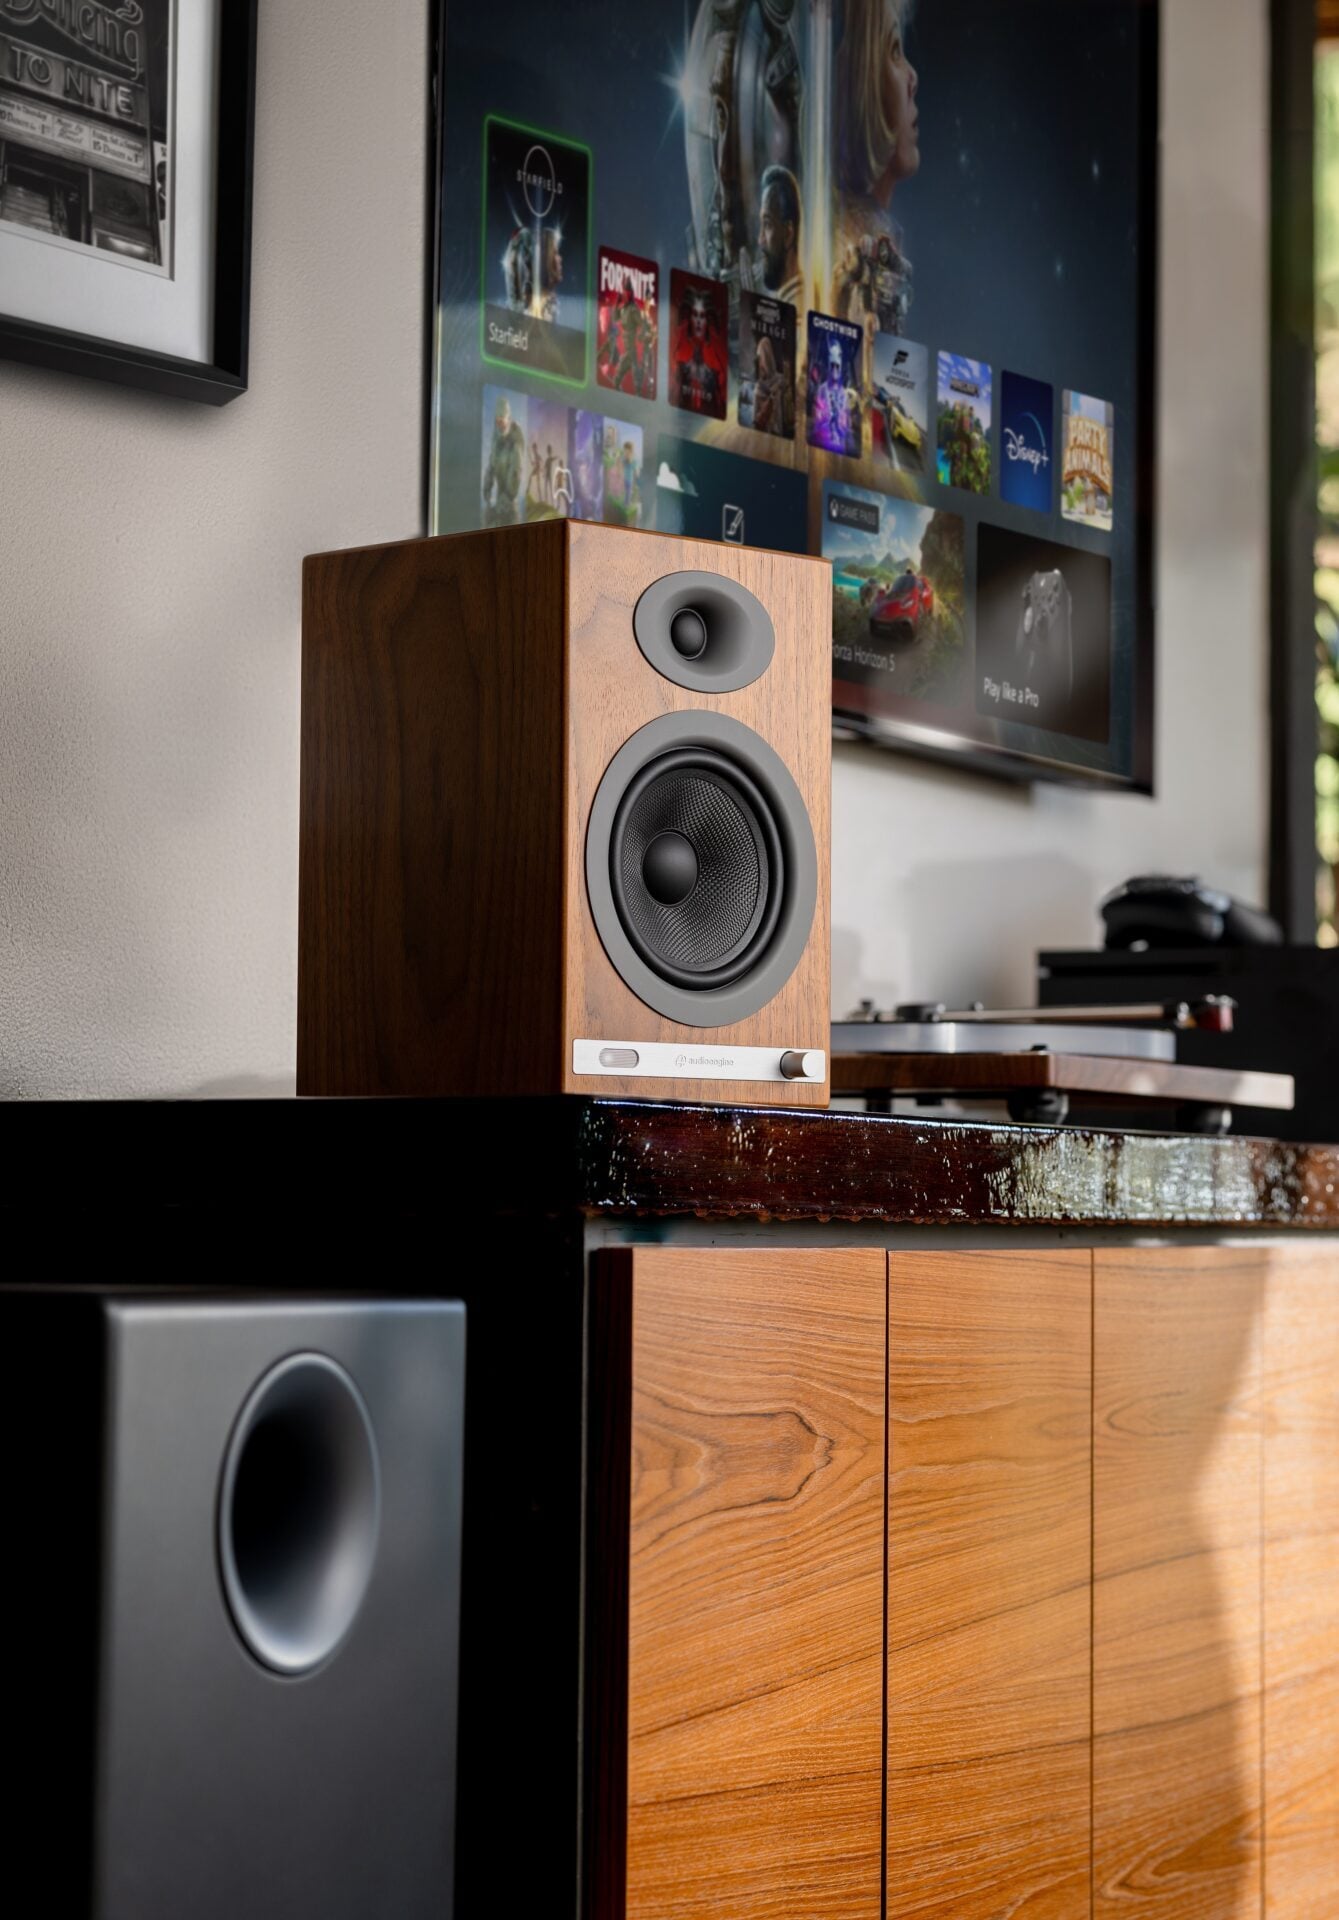
They’re not just a powerhouse of sound; they’re attention-getters.
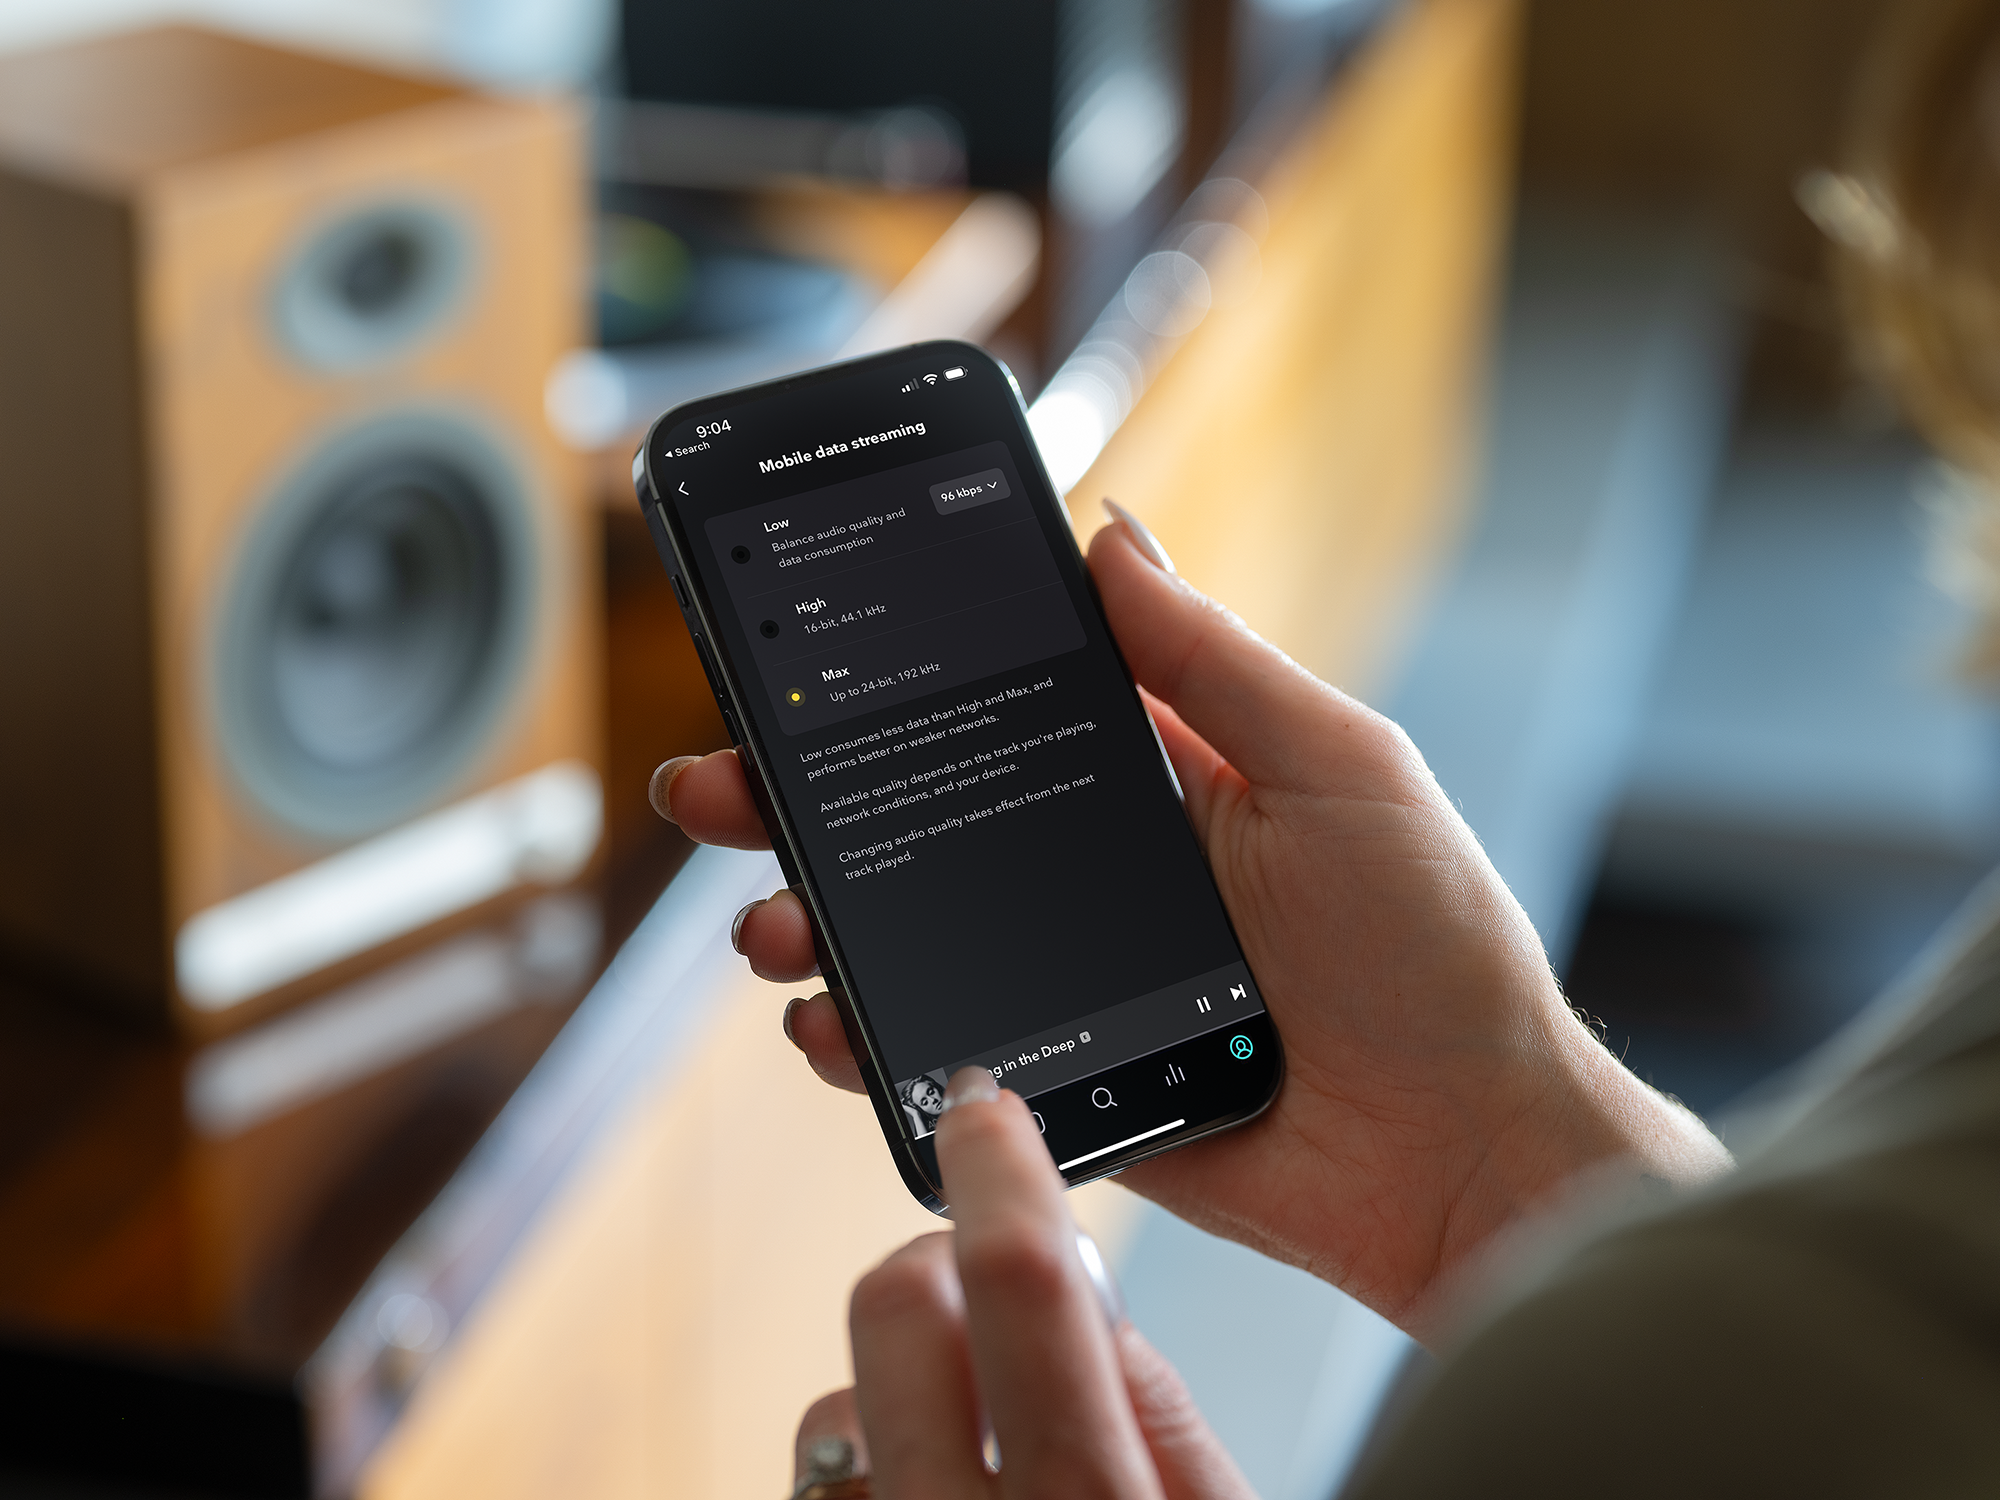
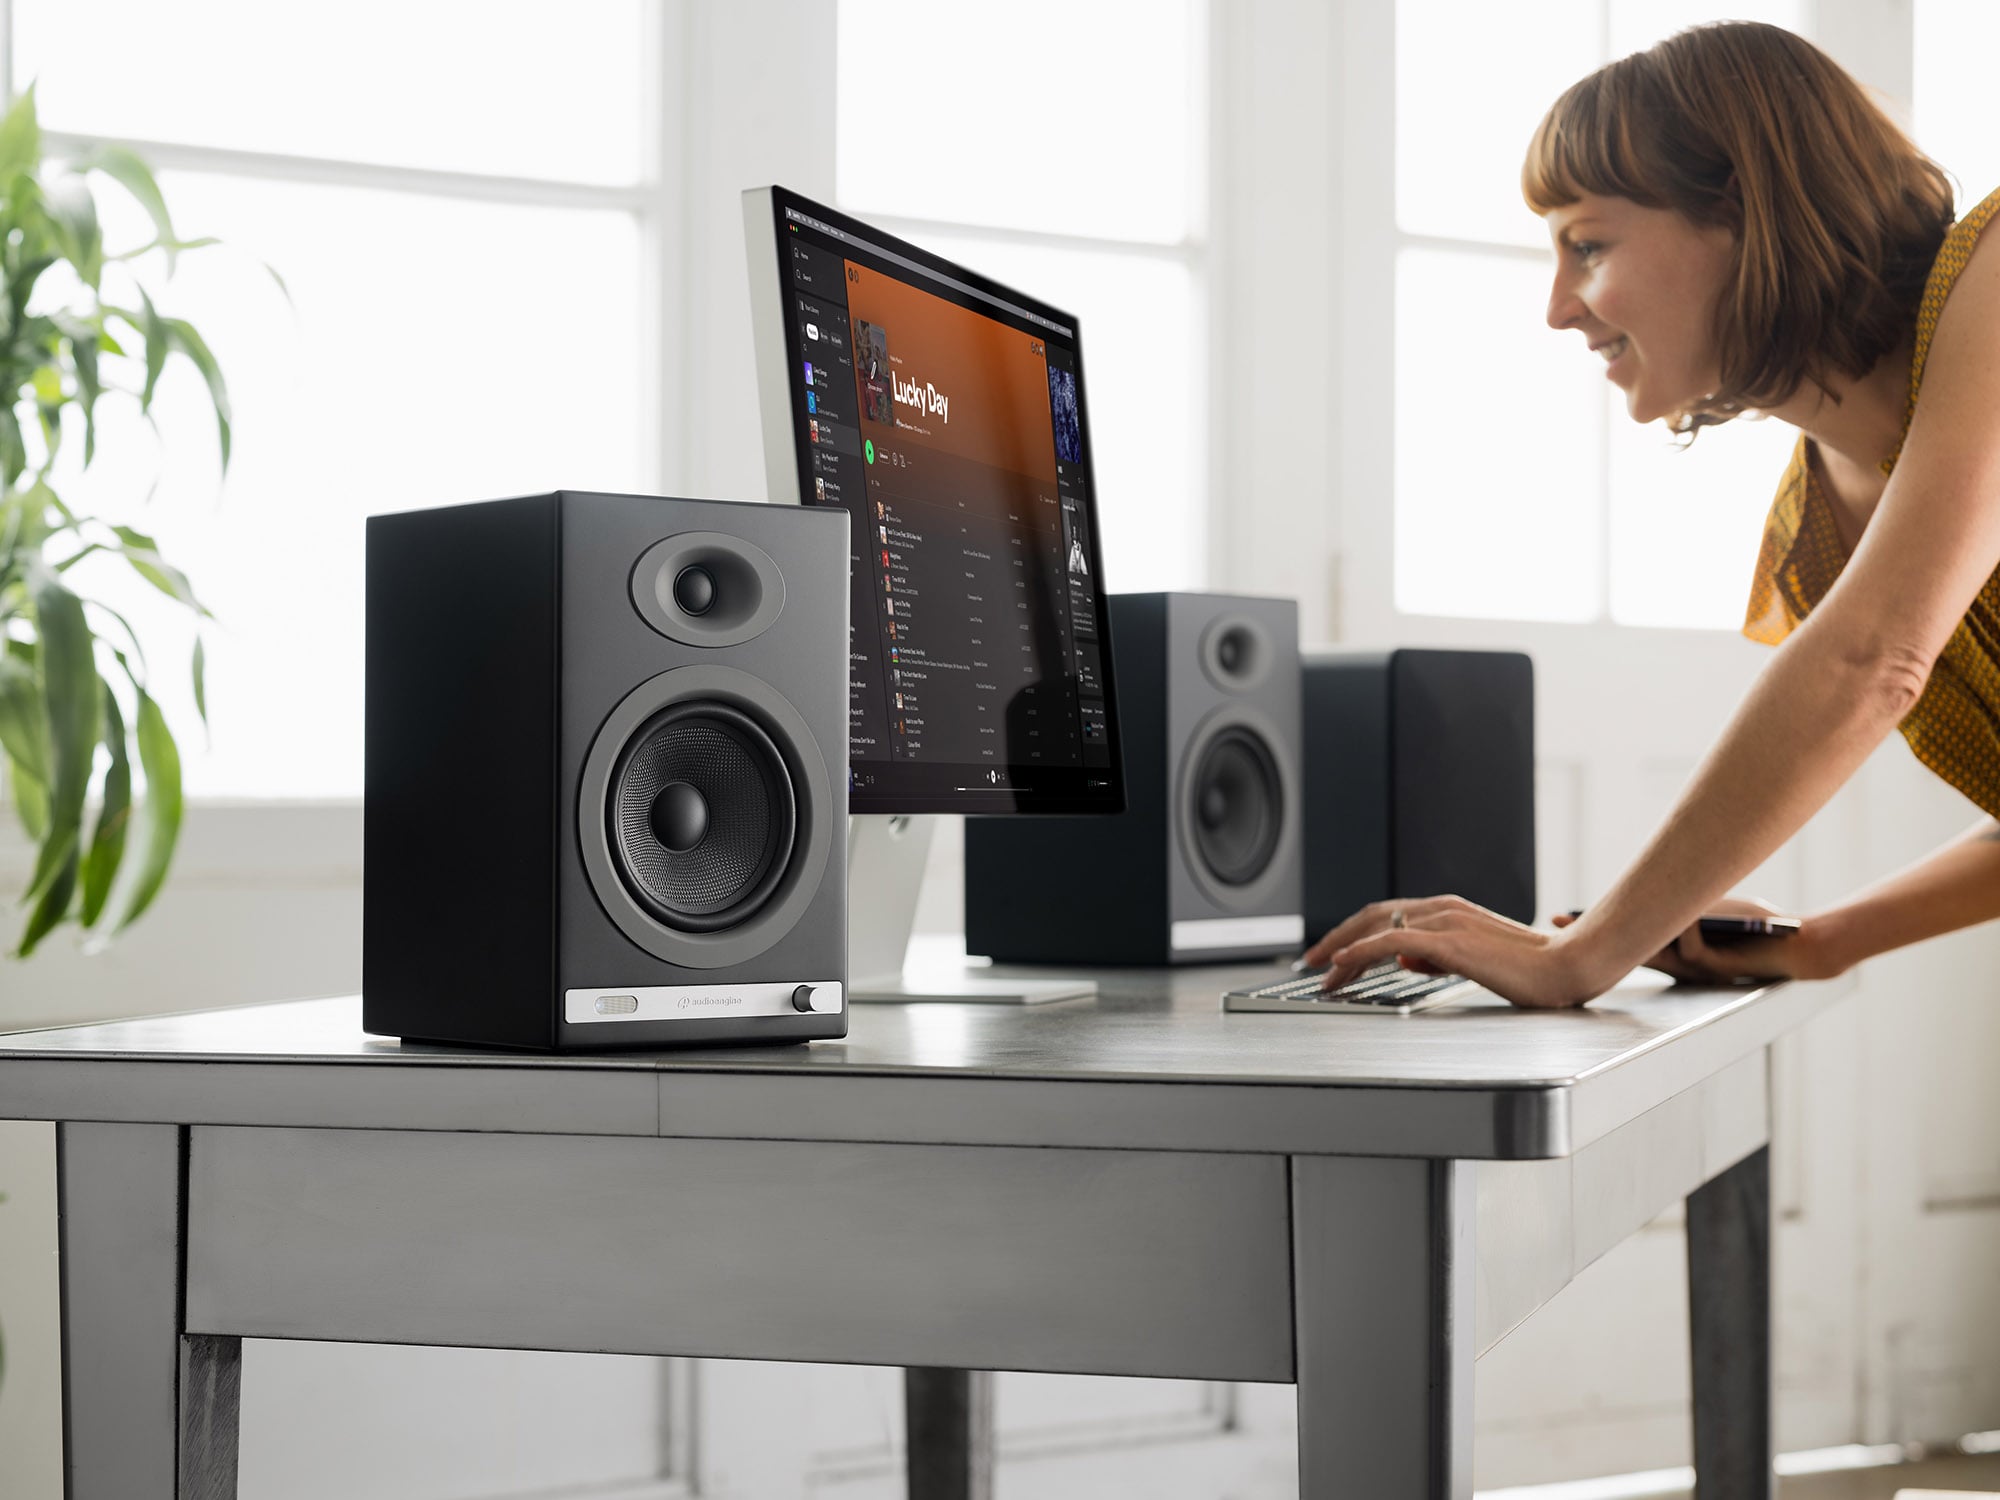
High-fidelity audio doesn’t play untethered on just any set of speakers. A 24-bit DAC ensures you’re hearing music the way the artist intended.
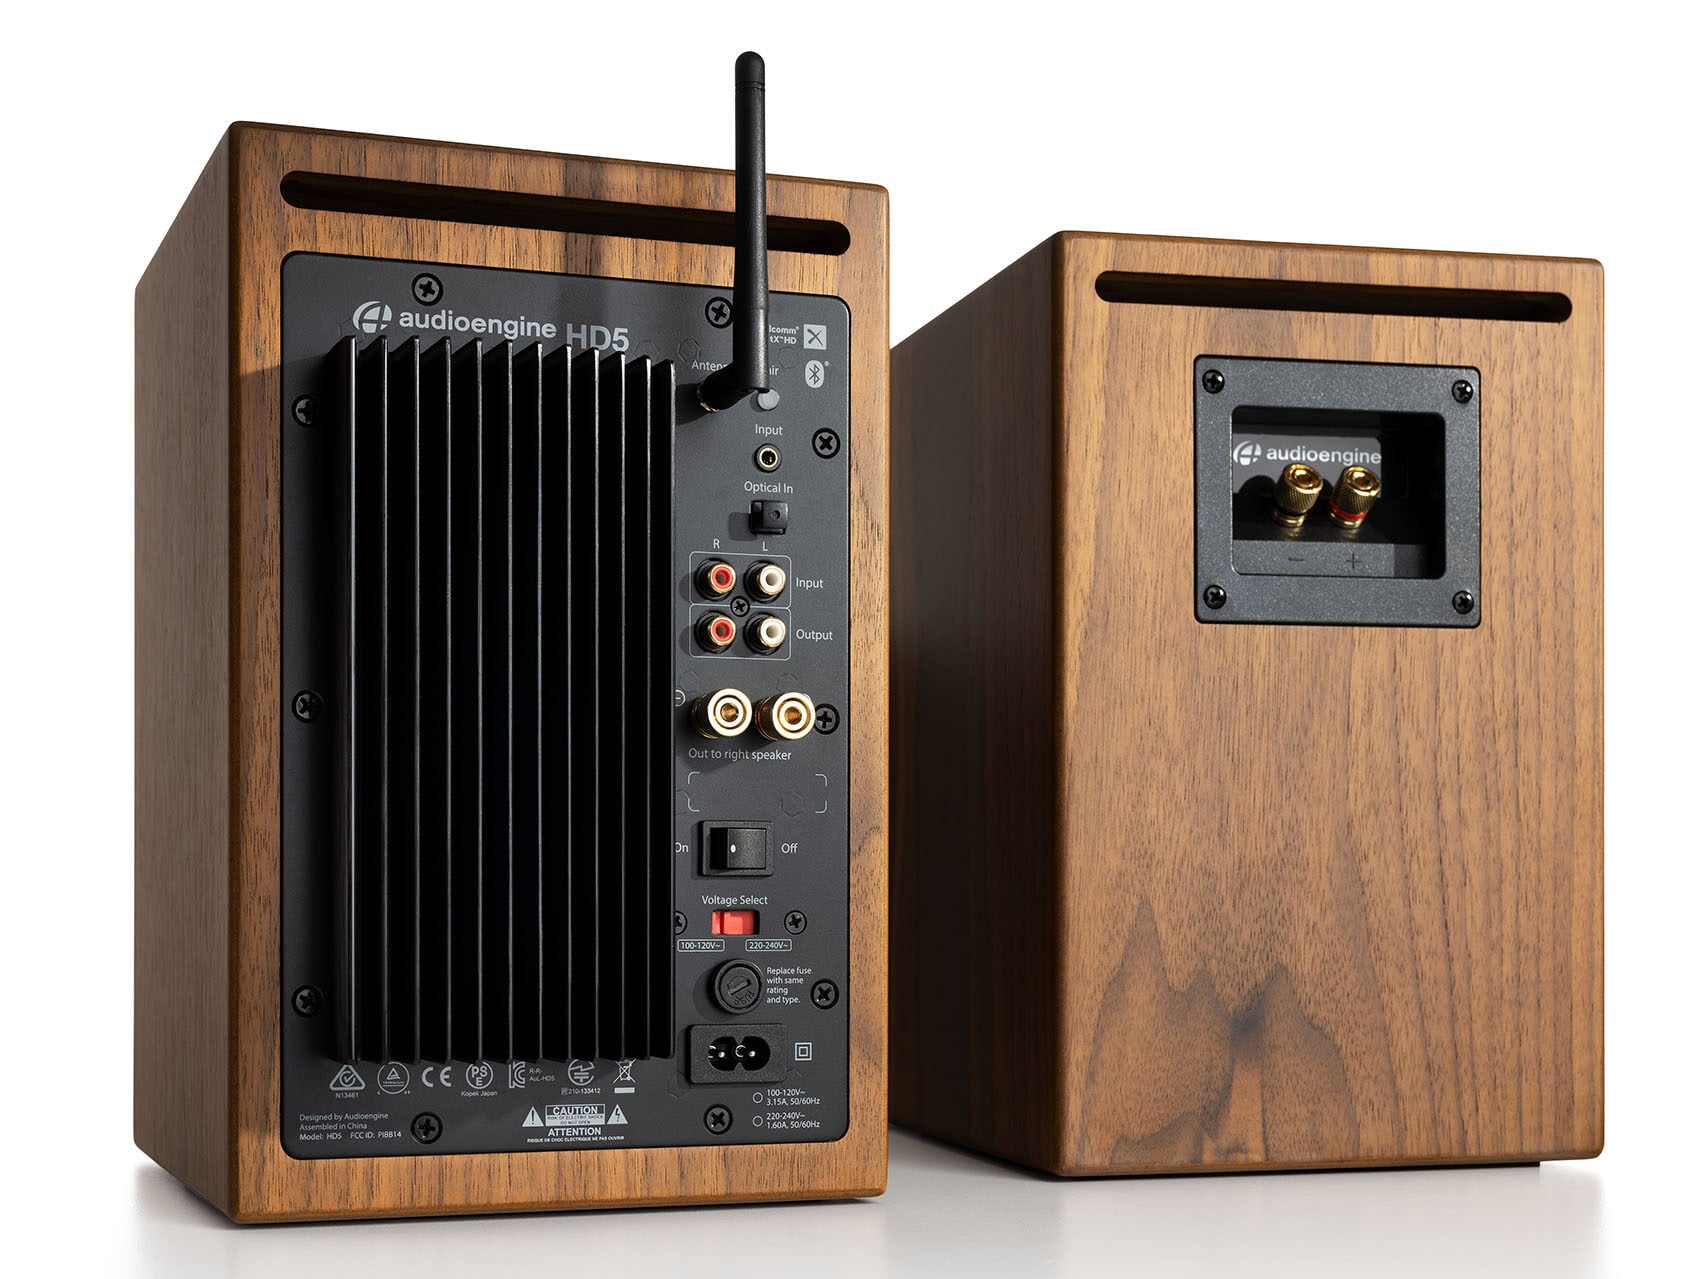
There is such a mass of technology and gadgetry available out there today that, for the most part, the good stuff sticks around and the bad stuff is pushed right out the door, never to be seen again. But when it comes to streaming music from our phones to our stereo systems, we sometimes still have to jump through hoops to get our gadgets to see eye to eye.
Rest easy, friends, for today I am here to make it very very easy. Let’s talk about a couple of ways Audioengine can get your music streaming from phone to stereo in less than 1 minute!

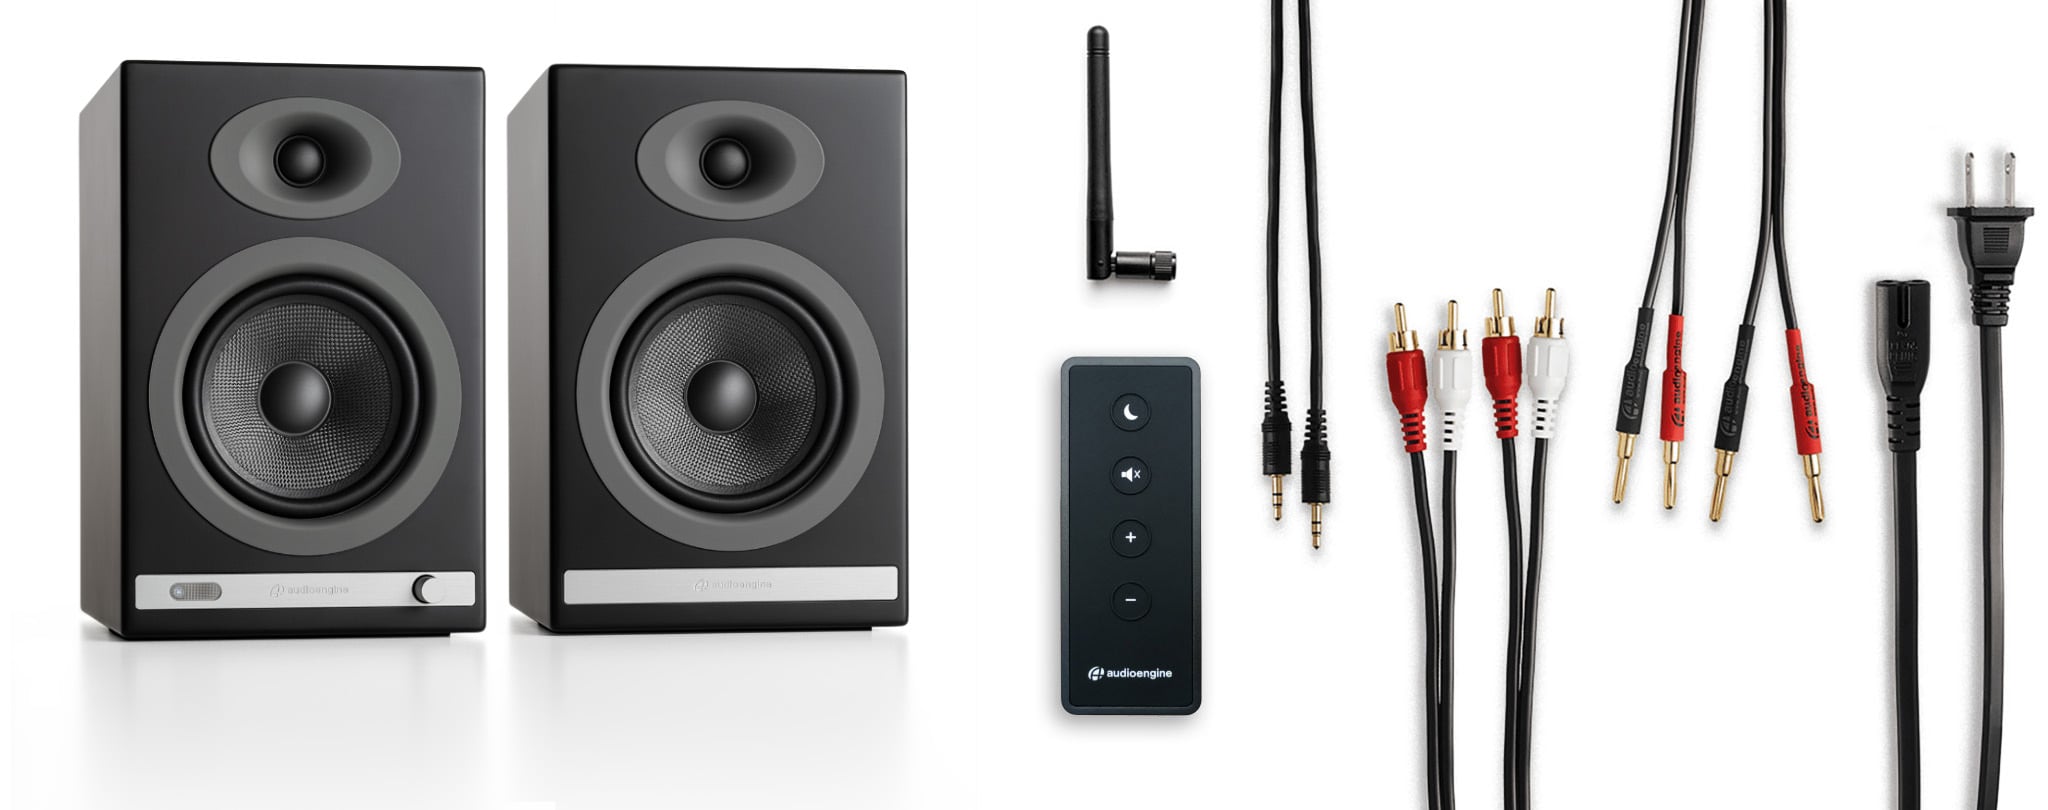
To get the system up and running in general, all you have to do is take your speakers out of the box, plug the left speaker into power, connect the left speaker to the right speaker via the included speaker wire (does not apply to B2, it's just one little speaker), and flip the power switch to the ‘On’ position. After the speakers are on, the only thing left to do is find the speakers on your phone’s list of available Bluetooth devices, and select them. They will pair within seconds after just ONE click! You’re done -- can you believe that!? Sheesh, that was easy. But what if you don’t have a pair of Audioengine wireless speakers?
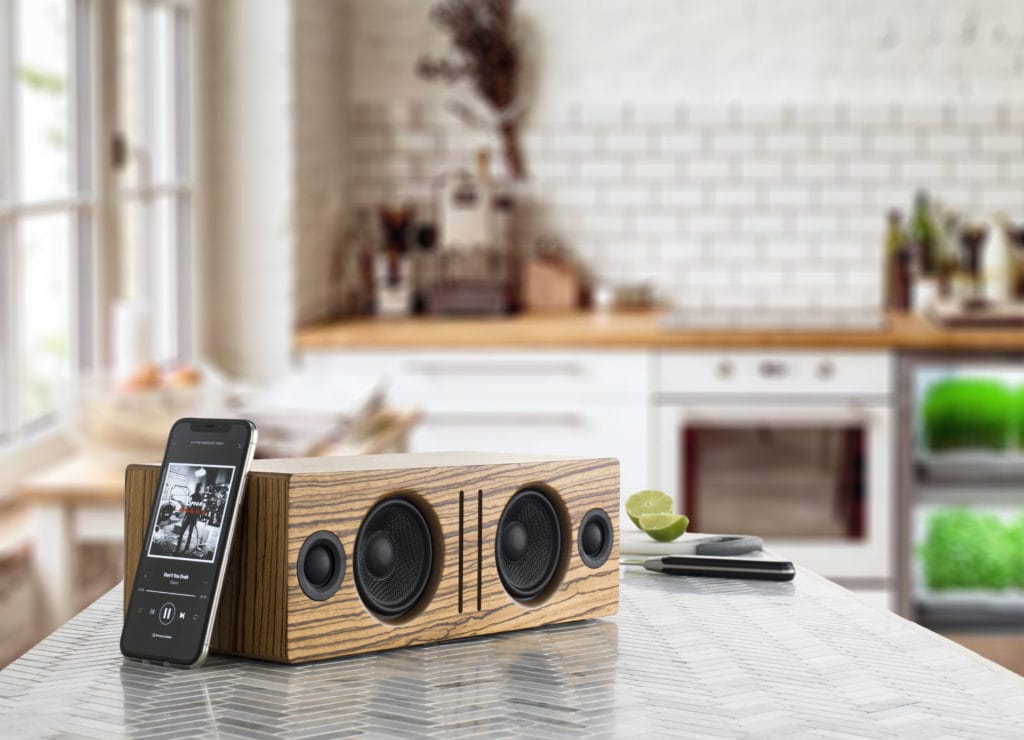
The same principals will apply from the previous section, but first, we have to MAKE our non-wireless speakers into wireless speakers. Let’s unpack our B1 Bluetooth receiver, connect it to power, and then run cables from the analog OUTPUTS on our B1, to the analog INPUTS on our existing speakers. Boom -- now our speakers are wireless, crazy right? The final step is the same as before; just locate B1 in your phone’s list of available Bluetooth devices and click. You’ll be paired in seconds and ready to rock that Duran Duran Greatest Hits album you just downloaded.
Keep in mind, once you’re paired like this, you should be able to stream any and all audio from your phone to your speakers. This means, iTunes, Spotify, Tidal, Pandora, everything. Everything!
No more banging your head against the wall trying to get things paired up, no more proprietary passwords, and no more having to reconnect every ten minutes. It really is the best way to stream music from your phone to your speakers, no matter what kind of speakers you are using.
Audioengine’s Home Music Systems are designed to deliver exceptional sound quality, offering you a next level gaming experience enhancing every footstep and gunshot, pulling you into the game's world, making every moment feel real and alive.
This guide will help you navigate the nuances of connecting your Xbox Series X or PS5 directly to your Audioengine Desktop Speakers, Gaming DAC, or other speakers. Before we dive in, let's address a crucial but often overlooked aspect: the type of display you're using.
Why TVs Simplify Speaker Connection
Gaming on a modern TV makes connecting speakers straightforward. TVs usually offer a variety of audio outputs, giving you several options for your audio setup. Simply connect via HDMI to your TV and connect the speakers through an available audio output.
Computer monitors, while often providing high refresh rates, often have limited audio output options and so, this guide will be helpful to those of you who are looking to avoid using a TV.
Note on Direct Connections
The FAQs and compatibility table below focus on direct connections between your gaming console and speakers. If you're using an additional device like an A/V receiver, or connecting through your TV, compatibility may differ.
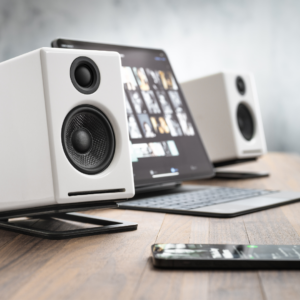
Audioengine's Best Selling A2+ Desktop Speakers
Can I connect external speakers to my Xbox Series X?
Certainly, although with limitations. The Xbox Series X doesn't natively support USB, optical, or Bluetooth audio outputs. You can, however, utilize the 3.5mm audio jack on the wireless controller to connect speakers that accept this input.
We recommend purchasing an inline HDMI audio extractor. This device can take the HDMI output from your Xbox Series X and extract the audio to outputs like Optical or RCA, allowing you to connect your speakers more easily.
Can I connect external speakers to my PS5?
Yes, you can. The PS5 supports USB audio output, making it compatible with speakers that offer this input*. However, the PS5 does not support 3.5mm, optical, or Bluetooth audio outputs.
Why is the type of display I use important?
As previously mentioned, your choice of display—whether a monitor or a TV—affects your audio options. Monitors usually lack the audio output variety found in modern TVs.
Summary of Input Compatibility
Refer to this table for compatibility between different audio input types and the Xbox Series X and PS5:
| Input Type | Xbox Series X | PS5 |
| 3.5mm | ✓ (via controller) | ✕ |
| USB | ✕ | ✓* |
| RCA | ✕ | ✕ |
| Optical | ✕ | ✕ |
| Bluetooth | ✕ | ✕ |
Key
Final Thoughts
Understanding your setup's compatibility is essential for an optimal audio experience. Using a TV provides more options for connecting your speakers, but a monitor isn't entirely limiting; you just need the right equipment, like an HDMI audio extractor for Xbox setups.
Feel free to explore our other resources to further optimize your gaming and audio experience.
Connecting studio monitors to your TV can enhance your viewing experience with high-quality sound. Studio monitors are designed for precise audio reproduction, making them a popular choice for audio professionals. However, there are several considerations and potential drawbacks to using studio monitors for TV audio. Here’s a step-by-step guide on how to connect your studio monitors to your TV, along with some important notes.
Step 1: Determine Your TV’s Audio Outputs
Identify the Available Outputs: Most modern TVs come equipped with various audio output options, including HDMI ARC, optical, RCA, and 3.5mm headphone jacks. Check your TV's manual or inspect the back panel to identify the available outputs.
Note: While studio monitors can be connected via these outputs, they may not offer the same listening experience, convenience and versatility as powered speakers designed specifically for home audio use, like an Audioengine Home Music System.
Step 2: Choose the Appropriate Cables and Adapters
HDMI ARC: If your studio monitors have an HDMI input, you can connect them directly using an HDMI cable. This option supports high-quality audio but is uncommon for studio monitors.
Optical (TOSLINK): Use an optical cable to connect the TV's optical output to a digital-to-analog converter. Then, connect the converter to your studio monitors using balanced XLR or TRS cables.
RCA or 3.5mm: If your TV has RCA or 3.5mm outputs, use the appropriate cables to connect directly to your studio monitors. You may need an adapter if your monitors use balanced inputs.
Note: Using low quality converters and adapters can degrade audio quality and add complexity to your setup. Audioengine Home Music Systems offer direct connectivity options, making the setup process simpler and more reliable.

Audioengine HD6 Home Music System
Step 3: Set Up and Calibrate Your Studio Monitors
Placement: Place your studio monitors at ear level and angled towards your listening position. Ensure they are symmetrically placed for optimal stereo imaging.
Calibration: Adjust the volume and any built-in EQ settings on your studio monitors to match your listening environment. Some monitors have rear-panel controls for fine-tuning.
Note: Studio monitors are designed for near-field listening and may not provide the same immersive experience in a typical living room setup. Home Music Systems from Audioengine are optimized for both near-field and far-field listening, offering more flexibility and better sound coverage.
Step 4: Connect a Subwoofer
Subwoofer Output: If your studio monitors have a subwoofer output, connect an active subwoofer to enhance bass response. This setup is ideal for a more cinematic experience.
Note: Many studio monitors lack dedicated subwoofer outputs, limiting your ability to achieve full-range sound. Audioengine Home Music Systems typically include subwoofer outputs, allowing you to easily integrate a subwoofer for deeper bass.

Step 5: Adjust TV Audio Settings
Audio Output Settings: Access your TV's audio settings menu and select the appropriate audio output (HDMI, optical, RCA, or 3.5mm). Disable the TV's internal speakers if necessary.
Volume Control: Adjust the TV volume to a comfortable level. If using an external DAC or converter, ensure it is set to a neutral level.
Conclusion
Connecting studio monitors to your TV can significantly improve your audio experience, offering precise and clear sound. However, it's important to consider the potential limitations and complexities involved. Using various adapters and converters can affect audio quality and make the setup process cumbersome.
Note: While studio monitors are excellent for professional audio work, they may not be the best choice for home entertainment. Audioengine Home Music Systems provide a more user-friendly and versatile solution, with features like analog amplifiers, built-in DACs, and subwoofer outputs, ensuring superior sound quality and ease of use.
By following these steps and considering the alternative options, you can enhance your TV audio setup to better suit your preferences and needs.
0.5" (13 mm) thick MDF cabinets
5" (130 mm) aramid fiber woofers with advanced voice coils
0.75" (20 mm) silk dome tweeters with neodymium magnets
Toroidal power transformer
Dimensions (HWD)
Left speaker (active)
imensions (HWD) Dimensions: 11″ (28 cm) x 7.16″ (18.2 cm) x 7.79″ (19.8 cm)
Right speaker (passive)
imensions (HWD) Dimensions: 11″ (28 cm) x 7.16″ (18.2 cm) x 7.79″ (19.8 cm)
Weight
Left (active) - 17.5 lb (8 kg)
Right (passive) - 12.5 lb (5.5 kg)
Total Shipping Weight
33.5 lb (15 kg)
Shipping Box Dimensions (LWH)
20" (51 cm) x 15" (38 cm) x 17" (43 cm)
Internal D/A converter
AKM AK4396
Input Bit Depth
up to 24 bit native
Sample Rate
up to 192 kHz native
Internal D/A Converter
PCM1793
Internal BT Receiver
N/A
Input Bit Depth
24 bit (padded)
Bluetooth Receiver Type
Bluetooth 5.0
Supported Codecs
aptX HD, aptX, AAC, SBC
Supported Bluetooth Profiles
N/A
Wireless Operation Range
Up to 100 ft (30 m) typical
Input Data Rate
Determined by Bluetooth
Wireless Latency
~30 milliseconds (ms)
Type
Powered Bluetooth aptX HD speaker system
Amplifier Type
Class AB
Rated Power Output: 50W RMS per channel (measured in compliance with 16 C.F.R. § 432.3)
Peak Power Output: 75W per channel (AES)
Total Peak Power Output: 150W (AES)
Drivers
5" aramid fiber woofers
.75" silk dome tweeters
Inputs
3.5 mm stereo mini-jack, RCA L/R, digital optical (SPDIF,) Bluetooth aptX HD
Outputs
RCA variable line-out
Input Voltages
115/240 V, 50/60 Hz manually switchable
SNR
Greater than 95 dB (typical A-weighted)
THD+N
Less than 0.05% at all power settings
Crosstalk
<50 dB
Frequency Response
50 Hz-22 kHz ±1.5 dB
Frequency Response w/ Bass Reduction Switch selected
N/A
Analog Input Impedance
48K ohms unbalanced (mini-jack and RCA inputs)
Nominal Impedance
N/A
Input Impedance
N/A
Crossover Frequency
N/A
Protection
Output current limiting, thermal over-temperature, power on/off transient protection, replaceable external main fuse
Power Consumption
Idle: 10 W
Mute: 6 W
Sleep: 4 W
Standby Consumption
N/A
Phase
N/A
Recommended Amplifier Power
N/A
Battery Life
N/A
Battery Charge Time
N/A
1. Turn Off and Unplug:
2. Dust the Surfaces:
3. Wipe Down the Exterior:
4. Clean the Speaker Grills:
5. Clean Buttons and Knobs:
6. Clean Ports and Connections:
7. Let Everything Dry:
8. Regular Cleaning:
By following these steps, you can keep your Audioengine system clean and working well.
Audioengine operates two websites, audioengine.mom and audioengineeu.com. If you go to any other site but these, they are not an Audioengine site. For Canada, Mexico and most of Europe and the UK, we only sell through Amazon. There are also a host of authorized retailers and sites across the US, and they can be found here. For international sales, we have distributors that operate independently, and they can be found here.
What happens if I buy from an authorized site claiming to be Audioengine? Unfortunately, there is not much we can do. We are taking all the action we can to make sure those sites don't get indexed, but we recommend you work with the provider of the card you used to make payment to get your money back.
The Audioengine remote takes a CR2025 battery.
- The process for replacing a volume encoder begins with pulling the volume knob straight back from the encoder shaft
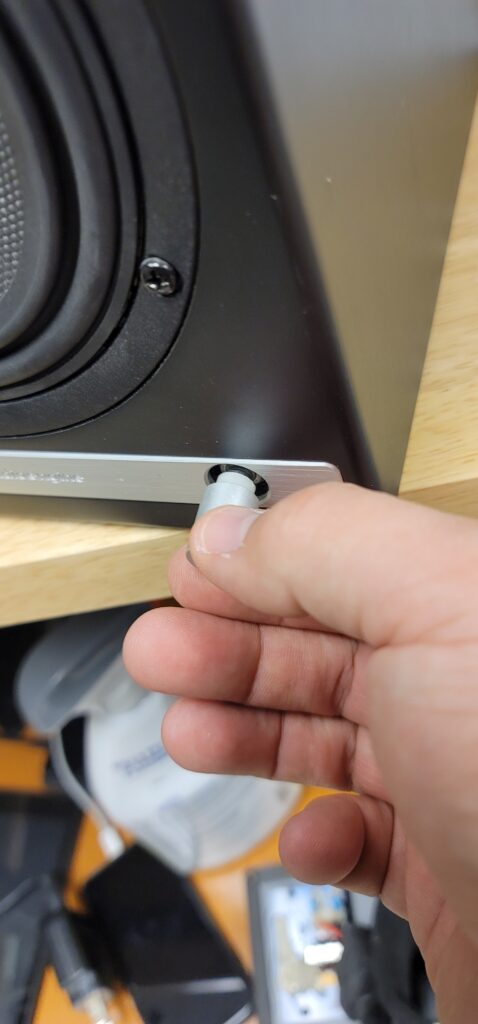
- Make sure the rubber insert stays with the volume knob -
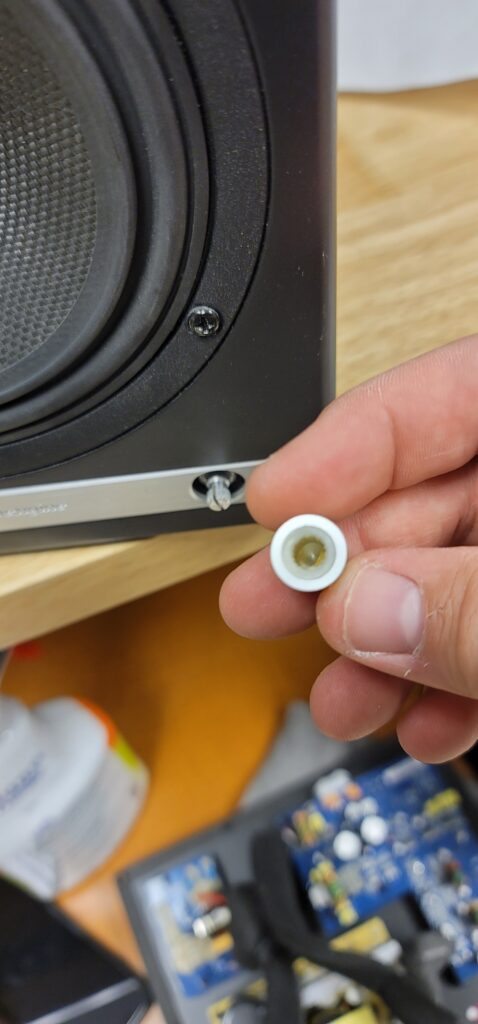
- The volume encoder shaft should look like so before proceeding -
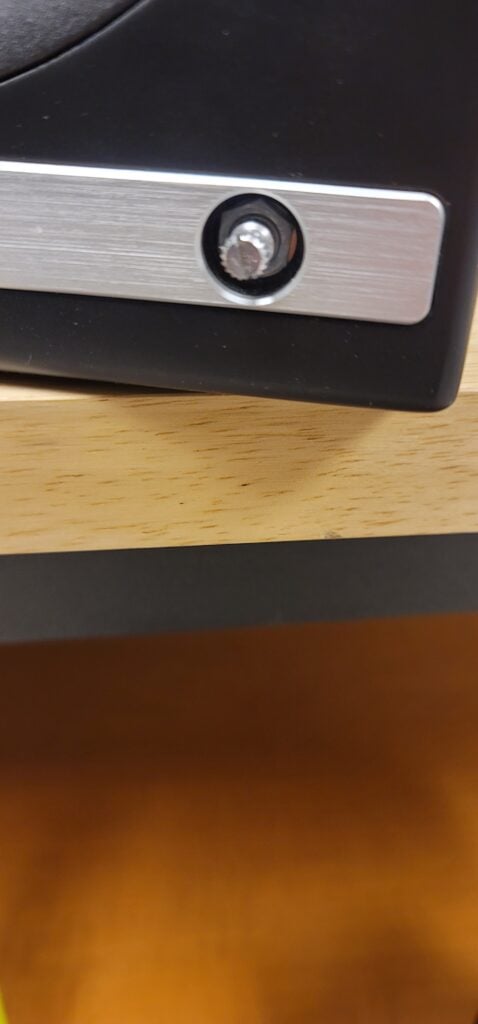
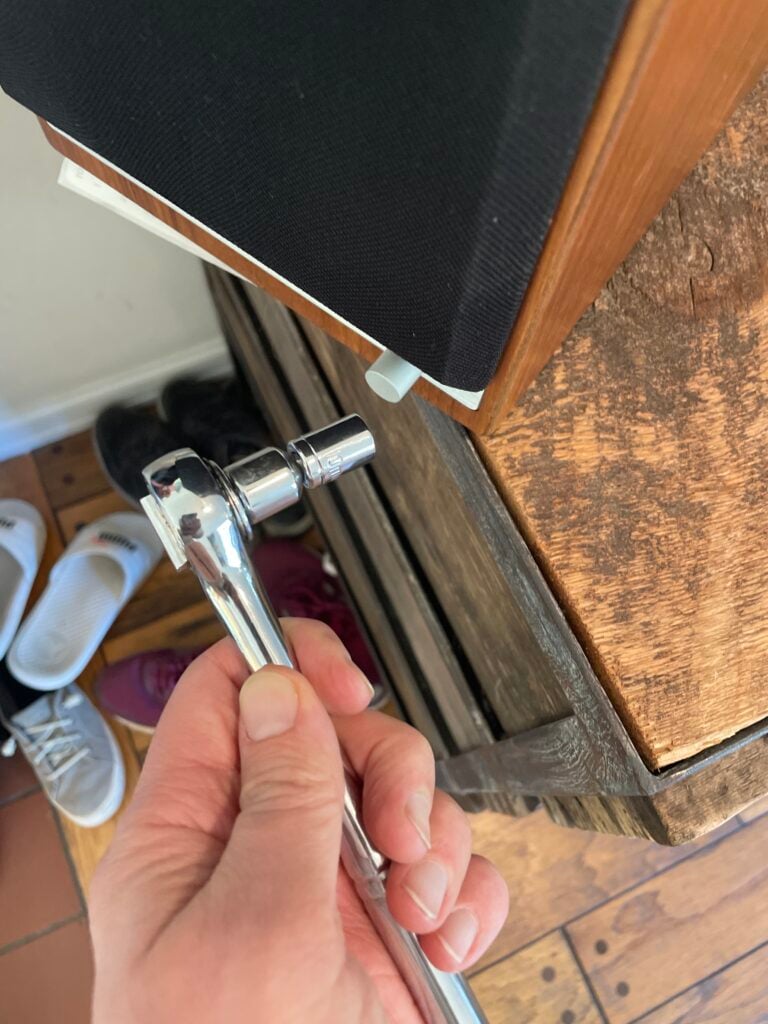
- Using a thin-walled 10mm socket, remove the lock nut fastening the encoder to the front of the speaker cabinet -
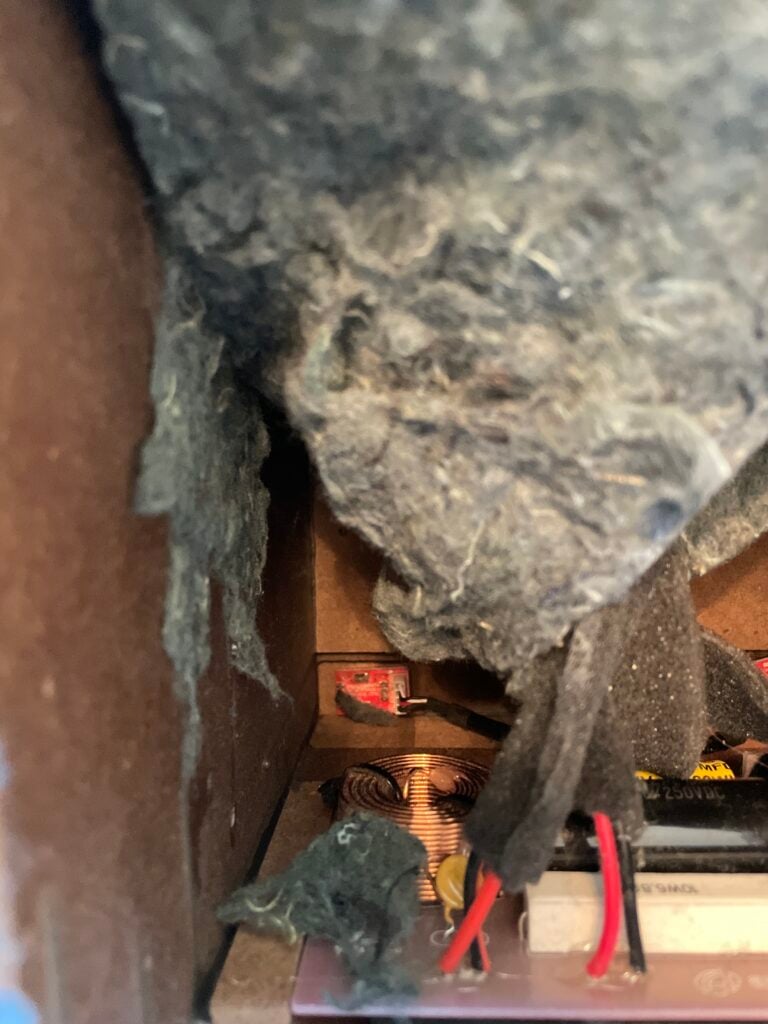
- Once you have removed the amp backplate on the back of the active speaker, make sure to remove the encoder wiring terminal clip from the amp circuit board. You can then fully uninstall the encoder assembly by pulling back the encoder shaft from the inside -
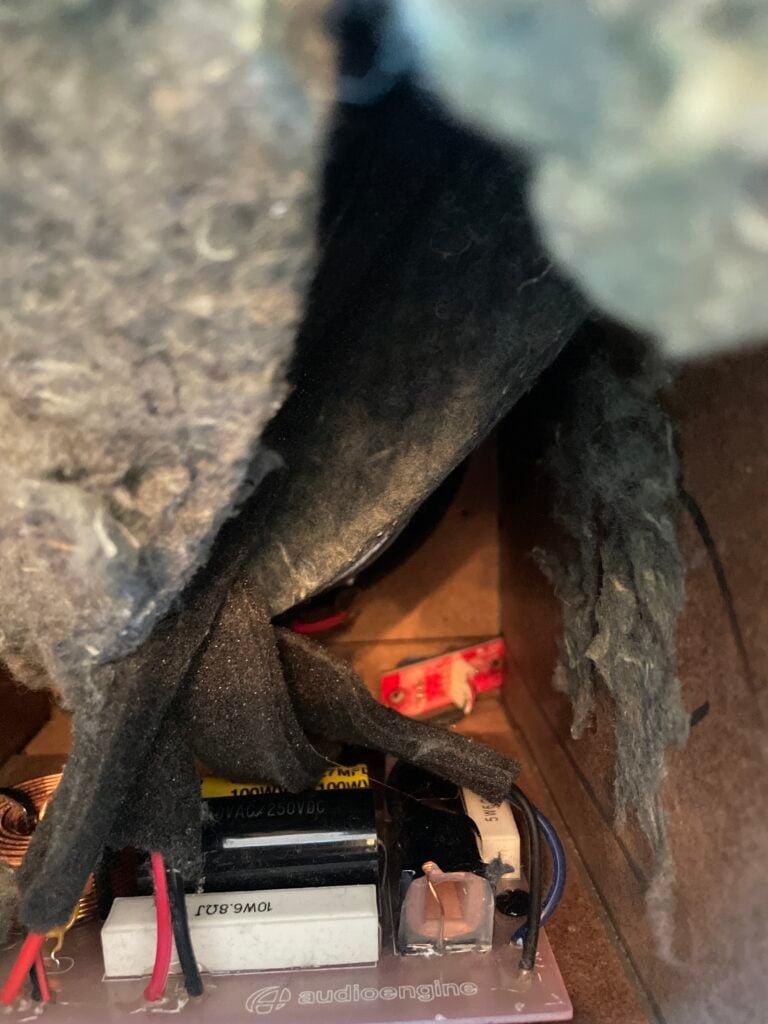
- Finally, the IR receiver can be removed by using a long-necked Phillips PH1 screw driver to remove the 2 screws fastening the IR receiver on the inside of the cabinet -
After fully removing the faulty encoder, the replacement can be installed following these steps in reverse order before finally connecting the wiring clip to the amp circuit board and fastening the amp backplate back onto the active speaker.
The process can be a bit cramped if you wish to do as little disassembly as possible, or a bit easier if you are comfortable moving parts to give yourself more workspace. The sound damping insulation normally overlaps at the bottom of the active cabinet. This can be peeled back similar to the reference picture attached. The crossover is mounted underneath this insulation (If process being done on an HD6) and is perhaps the most obtrusive part when replacing a volume encoder. This has two Philips head screws mounting it to the base of the cabinet along with an adhesive pad to reduce noise vibration. It is possible to remove the two screws and lift the adhered crossover up from the base of the cabinet momentarily to get better access to the IR receiver and volume knob assemblies at the front. If you'd rather not risk damaging anything, the IR receiver can still be unscrewed from the inside of the cabinet with a long-necked Phillips PH1 driver. The volume knob is loosened from the outside of the cabinet with a thin-walled 10mm socket found by pulling the volume knob straight back from the encoder shaft. Ample lighting will also make this work easier
Each Speaker is 11″ (28 cm) x 7.16″ (18.2 cm) x 7.79″ (19.8 cm)
All Optical audio is considered a "fixed" output, meaning volume will not attenuate from the TV remote. If you have an HD5/HD6 you can use the Audioengine remote for this. Fo
We take great pride in our products, and go through great lengths to ensure consistency and quality. For that reason, this item was randomly selected for an additional step of Quality Assurance.
Even though the HD5 has a built-in Bluetooth receiver, the HD5 are extremely versatile and can be used with a number of different devices, both digital and analog. There two analog inputs, a mini-stereo and RCA input, on the rear panel so you can directly connect any product with a line-level/preamp audio output, such as a turntable. The HD5s also have an optical input that utilizes the speakers' built-in DAC, so any source that has a digital optical output can be used directly with the speakers, such as the optical output of your television or computer.
The HD5s are slightly too big for our DS2M desktop stand, so we wouldn't really recommend them with the speakers. We've been using the IsoAcoustics as desktop stands for the HD5 and they've been working pretty well.
Yes they do! They are equipped with a power-saving circuit that turns off the speaker's final stage amp. This idle mode activates right after you stop playing music. Due to this power-saving function, it's perfectly fine for the speakers to stay on all the time!
It's pretty easy! Our powered speakers are an all-in-one solution with no extra amps or components needed! All you need to do is unpack the speakers, place them where you want, and then plug in the AC cord. Next, connect the powered speaker to the right passive speaker using the included upgraded speaker wire with banana plug tips. Finally, plug in your music (cell phone, turntable, computer, laptop, etc.) with the supplied cables or via Bluetooth and you're ready to go!
Once your HD6 is paired and connected, then open any app (iTunes, Spotify, Amarra, etc.) - or online players such as Youtube - and it will automatically play your music through Bluetooth once you've selected what you want to hear.
No extra software or drivers are needed. The HD6 is compatible with any device that supports Bluetooth, and the A2DP profile for streaming stereo audio. This includes most smartphones, tablets, and computers.
You can absolutely still use the HD5 and it will sound great! AptX is a high-quality Bluetooth audio codec that works really well. In addition to mandatory support for SBC, Bluetooth also includes optional support for many other codecs, like MPEG-1, MPEG-2, MPEG-4, and AAC, all of which have their own advantages, and some of which sound very close to AptX.
For starters, you will need to use a powered subwoofer with analog inputs (either RCA or 3.5mm). Simply connect the subwoofer to the RCA outputs found on the back of the HD6 speakers. If your subwoofer only has a 3.5mm input, you could pick up a 3.5mm to 2-Male RCA Adapter cable to bridge the connection between your subwoofer and the HD6 speakers.
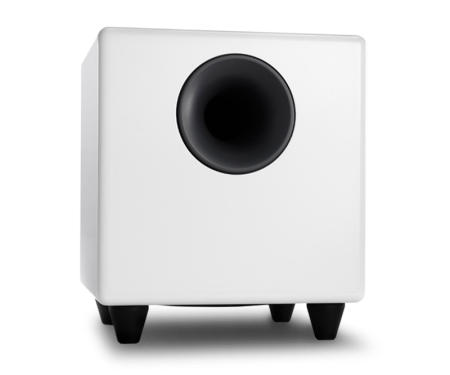
Please refer to the image below, using our S8 as a reference: 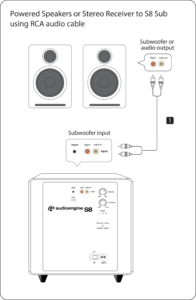
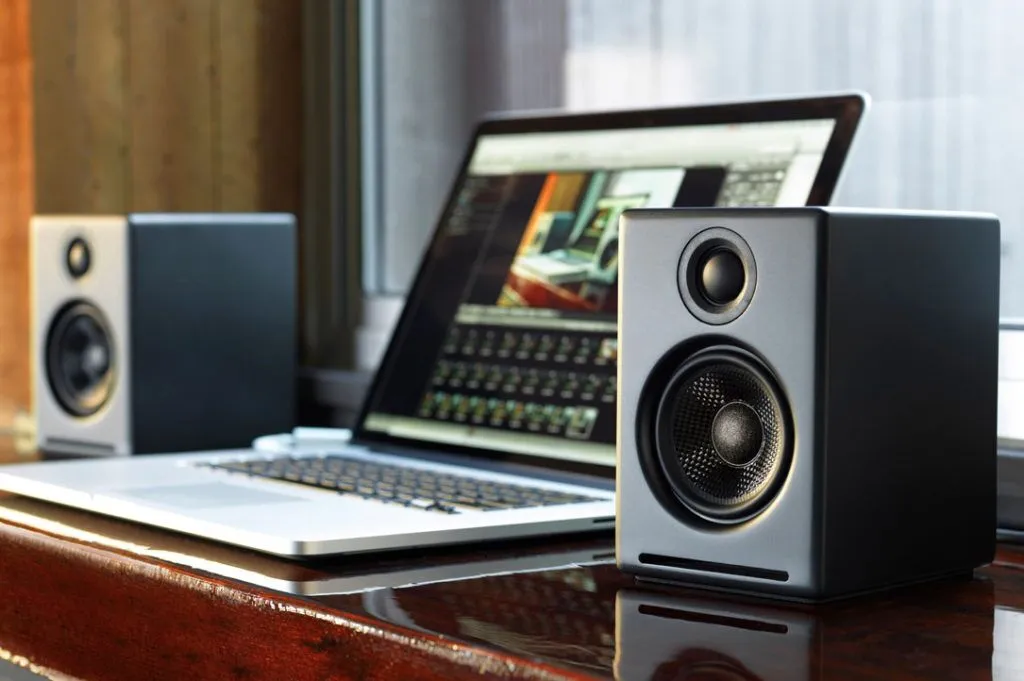
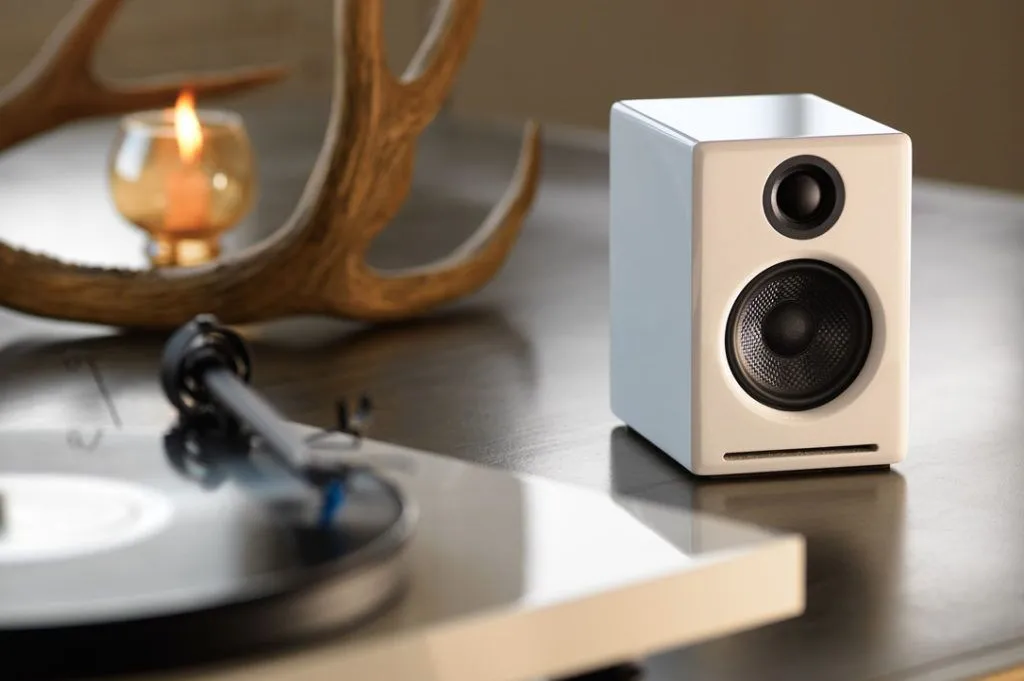
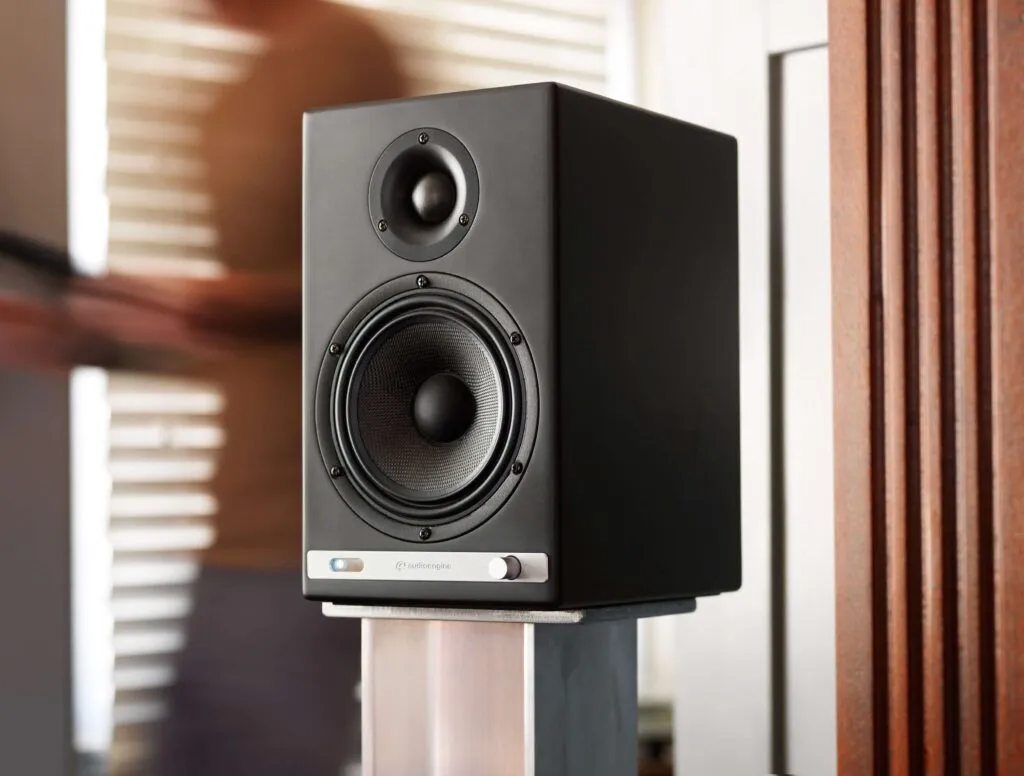

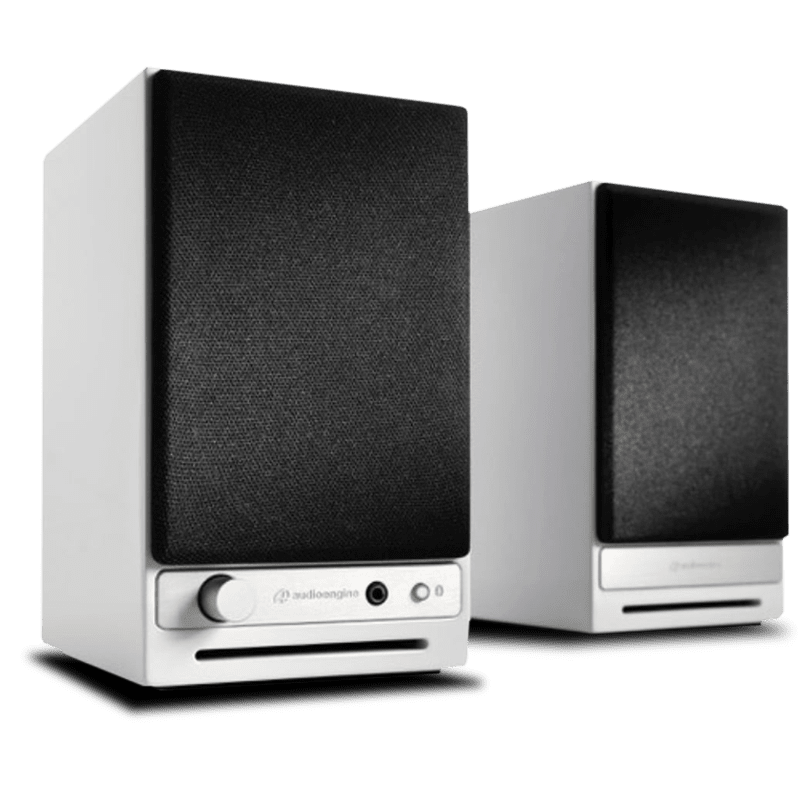
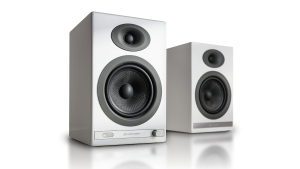 HD5 Home Music System w/ Bluetooth aptX-HD
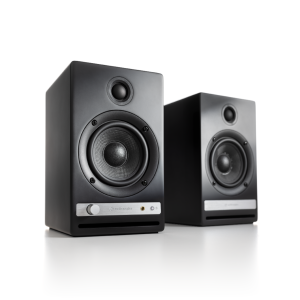 HD4 Next Gen Home Music System w/ Bluetooth aptX Adaptive
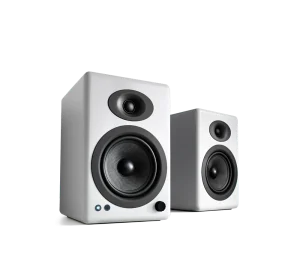 A5+ Home Music System w/ Bluetooth aptX-HD
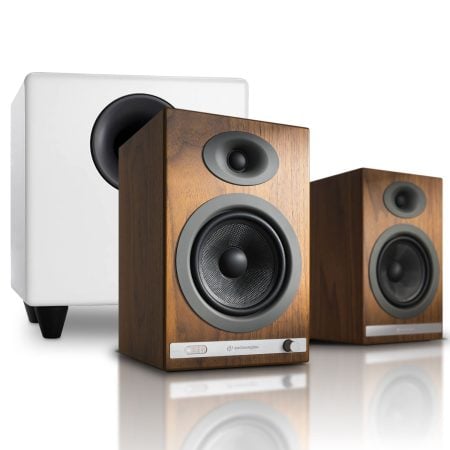
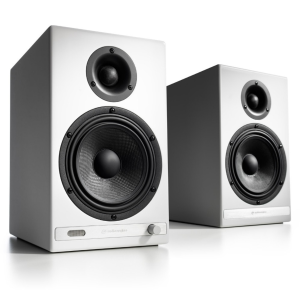 HD6 Home Music System w/ Bluetooth aptX-HD